 |
AUTOCAD TIPS & TRICKS - COPY OR ** COPY ** |
This can be quite a time saving tip. If you want to create copies of an object, rather than using the Copy command, try this technique instead.
In Fig.1, I have drawn a polyline to help demonstrate the copying process using this object. Draw an object similar to the one on Fig.1. |
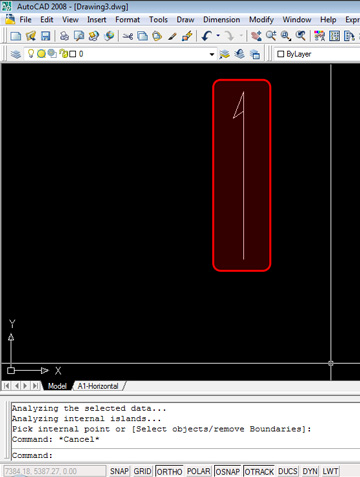 Fig.1 |
|---|
| Select the polyline object you just drew. Once selected, there are bluse squares that appear on the object. These blue squares are called grips. Point 1 in Fig.2 shows one of the grips as red. This is called a "Hot Grip" and we can enable this by Left Clicking on one of the blue grips. Note: You can select many grips at one time to have multiple Hot Grips. To do this, hold the SHIFT key then Left Click on all the grips you want to enable them as a hot grips. After enabling the Hot Grip, look at Point 2 Fig.2 showing the command prompt. The word ** STRETCH ** appears. Whenever you enable at least 1 Hot Grip, AutoCAD starts a cycle of commands that you can scroll thorugh by pressing the ENTER key or SPACEBAR. The first of these commands is the Stretch command. |
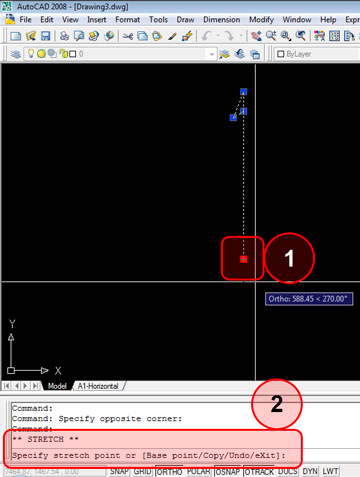 Fig.2 |
|---|
| If you press the ENTER key or SPACEBAR the commands scroll in the order shown in Fig.3 We start with Stretch, then MOVE, ROTATE, SCALE, MIRROR and then back to STRETCH again. AutoCAD will continue to repeat this order of commands as a part of the cycle. |
 Fig.3 |
|---|
MOVING & COPYING In Fig.4, I have invoked the MOVE command in the cycle. If I want to Copy multiple objects, I type C (Point 2) then press the ENTER key. This tells AutoCAD we want to MOVE copies of the selected object. Point 3 shows that we are now creating and moving Multiple copies of the object until we press the ENTER key or SPACEBAR. |
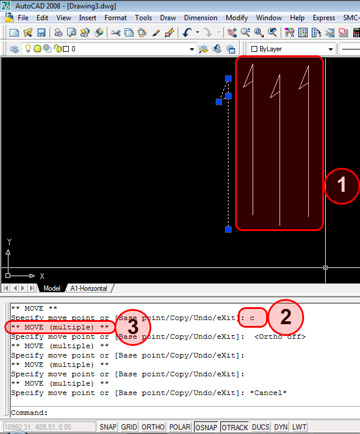 Fig.4 |
|---|
ROTATING & COPYING |
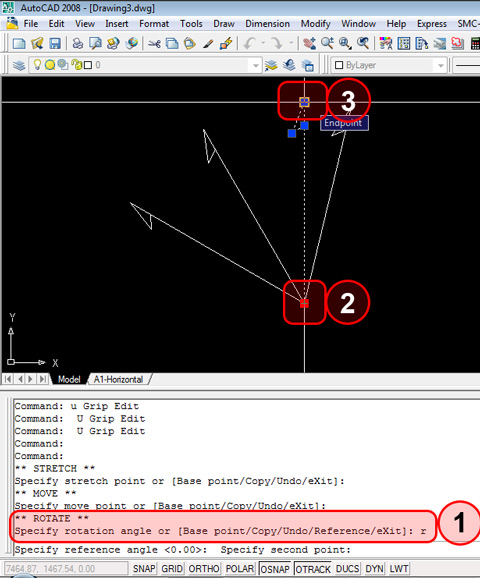 Fig.5 |
|---|